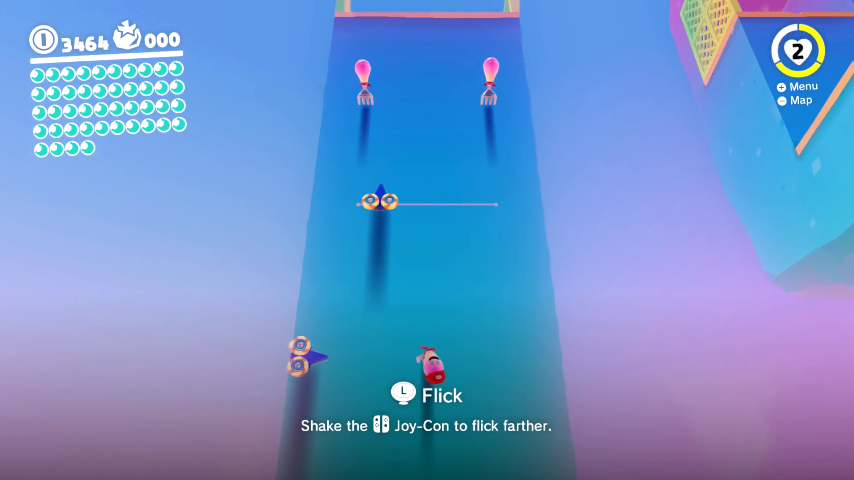
Fork Flickin'
Fork Flickin' is a sub-world in Luncheon Kingdom found through a door on a small platform on the east side of the kingdom. The level involves capturing and flinging from Volbonans to scale a very tall wall.
| Fork Flickin' | |
|---|---|

| |
| Internal name | ForkExStage |
| Moon Rock level? | No |
| Collectibles | |
| Power Moons | 2 |
| Regional coins | 3 |
| Trivia | |
| Music | Run, Jump, Throw! 1 |
Trivia
- It is possible to trickjump to the top of the colored rock formation above the secret moon. The easiest method involves vaulting from the platform above the level's exit,[1] but it can also be done by triple jumping from the fence and using a dive cancel against a specific slope to gain enough height to reach the top.[2]
Minimum Captures
Both Power Moons in the Fork Flickin' room are among the most heavily theorized moons for Minimum Captures. Currently, it is only known to be possible to scale the first several smaller ledges without capturing any of the forks, with no known way of scaling the final large wall in its entirety.
Attempted methods
After the player performs a wall jump, the game will restrict the locations in which a subsequent wall jump can be performed until the player touches ground (or performs another action capable of resetting the wall jump ability). The challenge with climbing this section is that bouncing on a cap launcher does not replenish Mario's cap bounce nor reset his wall jump. Various sequences of wall jumps and other actions have been attempted by Grady and others in order to climb this section, but no such methods have been successful.
The diagrams depict the numerous cap launchers in the final section, each given a letter, as well as various potential spots to wall jump, each given a number.
One can reach cap launcher A by simply performing a triple jump from the railing below followed by a cap bounce and dive. This uses Mario's cap bounce, but leaves his wall jump unaffected. This is strictly better than using a wall jump to reach this launcher, since performing a wall jump will prevent Mario from cap bouncing afterwards regardless. This launcher is seemingly way too high to reach with neither a cap bounce nor a wall jump, even using the two-player skew technique to gain height.
The goal is to reach cap launcher F in any capacity; once there, it is possible to trickjump over to the area near the Fork Flickin' Detour moon (and thus reach both moons) without any cap bounces or wall jumps by using a reverse bonk[3], as proven by JoniKauf.
There are thus two segments that seemingly require the use of a wall jump in some capacity: the jump from cap launcher A to B, and the jump from cap launcher E to F. Traversing from B to E can be done simply by bouncing and diving across all the intermediate cap launchers.
The simplest solution would seemingly involve wall jumping at location 2 to jump from A to B, and wall jumping at location 6 to jump from E to F. However, it is always impossible to wall jump higher than the previous wall jump if the angle between the two wall jump surfaces is 90 degrees.
This led to the idea to wall jump at location 1 instead of location 2, since the walls are facing opposite directions, but this seems to be impossible as well. The reason behind this is not entirely clear, since it's sometimes possible to do subsequent wall jumps on walls that face away from each other, even if the two walls are far apart.
A more advanced idea was to use location 2 to wall jump up to cap launcher B, then wall jump at location 7, land back on cap launcher E, and then use location 5 to wall jump up to F. Unfortunately, it also seems impossible to wall jump at location 7 directly after location 2, even though said walls are facing opposite directions.
An even more advanced idea involved wall jumping at either location 1 or 2, then 4, then 3, then 7, and finally at location 5 to get up to F. Wall jumping at location 4 and then 3 would work, since wall jumping around corners works with the caveat that the second wall jump must be at least slightly lower than the first. However, it is again impossible to perform this sequence, since wall jumping at location 4 seems impossible after wall jumping at either location 1 or 2.